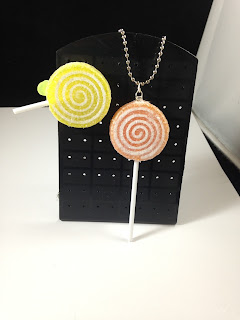
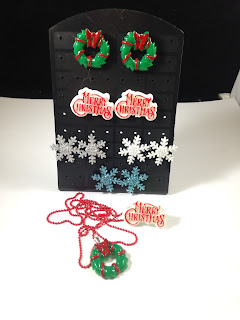
I created these DIY Tutorials for my YouTube channel a while back. Click on the images and they will take you to the tutorial on YouTube.
Showing posts with label DIY Tutorials. Show all posts
Showing posts with label DIY Tutorials. Show all posts
Saturday, March 24, 2018
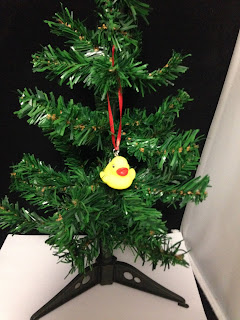
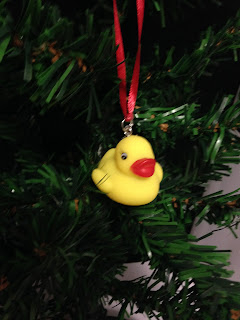
Mini Duck Christmas Ornament Tutorial
To see a tutorial on how I made this mini duck Christmas ornament click on one of the pictures above and it will take you to the YouTube video tutorial.
Friday, June 9, 2017
DIY Keychain Holder Display
In April of this year I set up a booth at the Strawberry Festival in Castleberry, Alabama. I needed displays for my jewelry and accessories, so I went to Pinterest to find a tutorials for making displays. I found a display for earrings and thought it would be perfect to modify the display to use for displaying my handmade keychains.
Material:
1. Flower Vases.
2. Wooden Dowels.
3. Glass Stones.
4. Cloths Pins.
I filled the flower vases half way with decorative glass stones, next I sat a wooden dowel in the center of the vase and added more glass stones around it to hold the dowel in place. Next I added cloths pins to the wooden dowels.
For this display I added more cloths pins.
One display filled with my keychains!
Second Keychain Holder Display.
Simple, easy DIY Project to help make display tables at festivals look nice and organized.
(Credit: My inspiration for this idea can be found here.)
Tuesday, September 11, 2012
DIY Tutorial: Anchor Cameo Adjustable Rings
For today's DIY Tutorial I am going to show you how to make these adorable and trendy Anchor Cameo Antique Bronze Adjustable rings. They are super simple and it doesn't take long at all.
For this project you will need:
1. Clean Surface
2. Cutting Board
3. Anchor Cameos
4. Adjustable Ring Base
5. Super Glue
You can use any cameo's, I like the looks of the Anchor ones. I also have lady face cameo adjustable rings available for purchase in my shop www.MardiRobyn.com
You can find the supplies on Etsy or Ebay. Personally I love using "Ingredients for Lovely" shop on etsy to buy my antique bronze adjustable ring bases. The seller is super friendly, shipping is fast, and the quality of her supplies are wonderful! I have bought supplies from her shop multiply times. Which reminds me I need to place another order soon!
The adjustable ring bases pictures are 25 x 20mm in size. The Cameos are 18mm x 25mm in size. The cameos are made of resin!
Like I said this tutorial is super easy, and you can find the supplies on Etsy and even Ebay. I purchased some Anchor cameos from there not to long ago.
Superglue can be purchased at a number of places. The yellow was purchased at Dollar General and the black tube came in a four or five pack at Wal-Mart. It can be found in the hardware department. I have been using both kinds for months and I like it. It is sturdy and holds up very well!
The next step is easier than baking a cake! Holding the ring by the ring that goes on your finger. Add super glue to the oval base of the ring. Next places the cameo evenly onto the ring, try not to superglue your fingers together! Press the cameo onto the ring base with your finger for 10-20 seconds. Let air dry over night and viola you have yourself a brand new trendy ring! I told you this was a super simple tutorial!
Which color is your favorite? I like the pink and black anchor! I made one for myself! Don't have the time to make one yourself? No problem! I will be listing these rings in my shop by the end of the week! www.MardiRobyn.com
Don't forget to join the mailing list, like Mardi Robyn on facebook, and follow along on Twitter and Instagram. You will get exclusive coupon codes, sneak peaks and a lot more!
God Bless,
~Mardi Robyn
Wednesday, August 22, 2012
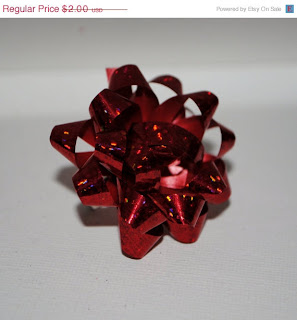
Mini Christmas Bow Adjustable Rings
I want to get into the habit of posting tutorials! I love reading blogs that have diy tutorials and I love coming up with ideas and making crafts, so why not start posting tutorials..
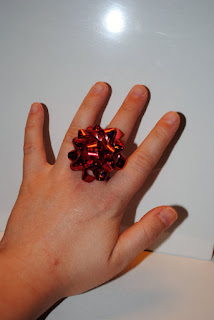
For this tutorial I want to show you have to make cute adjustable rings using mini Christmas gift bows!
I sell these in my etsy shop and have had positive feedback!
Glitter Red Bow Adjustable Ring
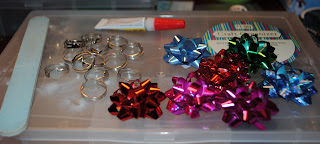
You will need the following supplies:
~ Mini Christmas Bows
~ Adjustable Ring Base
~Superglue
~ Fingernail File (or sandpaper)
~Scissors
~Felt (Optional)
Step-by-Step Instructions:
Prep-Time
1. Using your fingernail file or sandpaper, file over your adjustable ring base a few quick times. This helps the adhere the bow to the ring base once the superglue is applied.
2. Next take one of your bows, on the back is the paper you usually peel off to stick to a package, you will want to neatly trim it to where the paper is more rounded on the back. You can also cut the entire paper backing off and secure a felt circle to the back using your superglue for a more polished look, like you would do if you were making a hair bow using decorative flowers.
3. After you have filed the adjustable ring base and trimmed the paper from the back of the bow it is time to do the final step in making your ring!
4. Using your superglue apply to base pad of the adjustable ring and add the back of the bow to the pad of the ring. You might need to apply a little dab of superglue to the back of the bow as well.
Let dry and you have yourself a pretty cute bow ring!
Simple and easy to make for you and your friends!
Don't forget to check out my shop! www.MardiRobyn.com you will find over 1000 handmade jewelry items and hair accessories to choose from!
Monday, July 30, 2012
DIY Tutorials: Decorated iPhone Case
I love my iphone! I have had an iPhone since December 2011 and I cannot imagine ever going back to any other type phone. It seems like the iPhone does everything!
I had a teal otterbox that was falling apart from use, so one day I decided to paint it blue with acrylic paint however I should have used some sort of sealer on it to keep it from chipping, since I didn't it chipped and started coming off on my iPhone. Big no no! So, I remembered that I still had two rubber silicone iPhone cases that I bought in a pack of three at Wal-Mart last year when I bought my first iPhone. The pack was around $10 and had three cases, white, blue, and gray. I used the blue right away since it is my favorite color. When it wore out I bought the otter box I mentioned.
Today I decided to do a simple diy decor for the white rubber iPhone case! Take a look!
I added sparkly music note stickers that I bought by a sheet in the scrapbook section of Wal-Mart several months ago. Isn't it cute!
This little gal is called a Kawaii Teardrop. Kawaii means Cute in Japanese.
I turned this Kawaii Teardrop charm into a cellphone charm! (Charms like this will be available in my Shop www.MardiRobyn.com in the very near future along with other styles!)
Not bad for a simple Diy iPhone case tutorial!
Labels:
custom iphone case,
DIY Tutorials,
iphone,
iphone case,
kawaii teardrops
Subscribe to:
Posts (Atom)
